How To Make A Pleated Patch Pocket
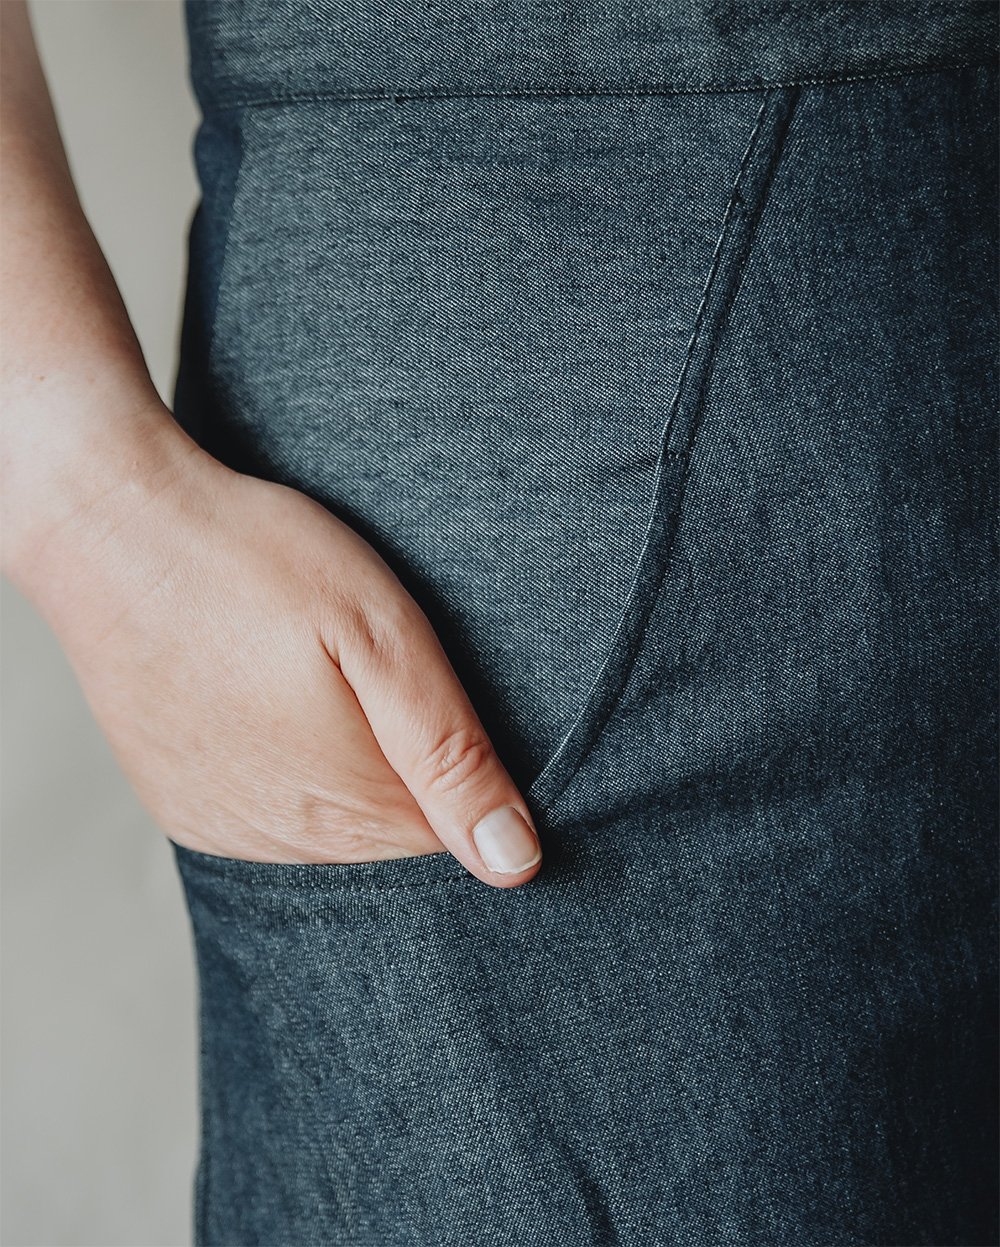
A Pleated Patch Pocket in Action!
We recently added a new pattern to our store, the Boxgrove Skirt, that includes the option of a pleated patch pocket. Pleated patch pockets like these can be added to lots of different patterns, and they add an extra little flourish over a regular patch pocket. So in this tutorial I’ll show you how to make a pleated patch pocket of your own to add to any pattern you desire. The design I’m using here is based on the Boxgrove Skirt pocket, but of course you can modify the dimensions to suit whichever pattern you are applying it to.
What You’ll Need
To make the plated patch pocket you’ll need 265mm x 225mm of fabric for the pocket and 185mm x 140mm of fabric for the pocket flap. You’ll also need a similarly sized piece of interfacing for the flap.
Below are diagrams showing the dimensions and fold lines required for each pattern piece.
This shows the dimensions of the pleated pocket pattern piece.
This shows the dimensions of the pleated pocket flap
Preparation
To begin with, cut out the fabric and interface pieces as shown above. Apply interfacing to the pocket flap piece, and then mark the ends of the fold lines for both the pocket and flap pieces with small snips.
End of fold lines marked with small snips
Pocket Flap
Let’s start with the easiest bit! To make the pocket flap, first fold the flap in half along the fold line, right sides together, such that the interfacing is on the outside.
Folding and pinning the pocket flap
Stitch both pinned sides allowing 1cm seam allowance. After stitching, grade (i.e. trim down) the seam allowance by half and clip the folded corners to reduce bulk.
The pocket flap after clipping and grading the seams
Turn the flap through. When turning through you can use a pencil, scissors or a knitting needle to poke into the turned through corners and make them nice a crisp. Finally, press.
The completed pocket flap.
The Pleated Pocket
Now on to the pocket itself. Fold and press the pocket top. First fold down the 1cm seam allowance and press, then fold down across the 3cm fold line and press.
Pocket top folds
Stitch the pocket top, close to the edge, as shown below. Press.
Edge stitching on the pocket top
Next, fold and press the pleats of the pocket.
Pocket pleats, folded and pressed
Stitch very close to the edge of all the pleat folds, both the front folds and the back folds. This will make the pleats nice and crisp and help them to keep their shape.
Pocket after stitching the front folds of the pleat
Pocket after stitching all folds of the pleat
Finally fold in and press the 1cm seam allowance around the bottom and sides of the pocket.
Pleated pocket with seam allowance pressed in
Attaching The Pocket and Flap
Now it’s time to attach the pleated pocket and flap to the garment. Select the position on your garment you’d like the pocket to go and pin in place.
Pleated pocket pinned in place
Stitch along the sides and bottom of the pocket, then press. Next, pin the pocket flap 1cm above the pleated pocket, with the raw edge toward the pocket, as shown below.
Pinning the pocket flap 1cm above the pleated pocket
Stitch the bottom of the flap to the garment, allowing a 1cm seam allowance. Then trim the seam allowance down to 0.5cm.
Trimming the seam allowance of the pocket flap
Fold the flap down over the pocket and top stitch to enclose the raw edge of the trimmed seam allowance. Finally, press and your pleated pocket is complete!
The completed pleated patch pocket
If you’d like to watch a video of the pocket being made, why not check out the tutorial for the Boxgrove Skirt. You can find the full construction video on the product page. Most of our more popular patterns come with free tutorial videos that take you through all the stages of construction. If you’re a beginner, we’d recommend the Midhurst Skirt tutorial, as this covers everything from cutting out to applying interfacing, to how to insert an invisible zip.
Fancy trying an in-seam pocket instead? We also have a tutorial on How to Sew in-Seam Pockets.
Thanks for reading, and please share this post if you think it’s useful - it really helps us a lot!
Sussex Seamstress is an independent pattern maker, based in Sussex, UK.
While you’re here, why not take a look at my range of sewing patterns for women?


