Dressmaking For Complete Beginners
Introduction
We get many people contacting us and telling us that they’ve made their first ever dress with one of our patterns. It’s an absolute joy to see these first makes and the pleasure and satisfaction they bring.
If you are just starting out on your dressmaking journey, we know it can be a bit daunting and hard to know where to start. Giving a full introduction to dressmaking would require a entire book (there are many available!), but we thought it would be helpful to just give an overview of dressmaking as a starting point, covering the basics of what you’ll want to know.
If you prefer watching video to reading, then you might like to watch some of our pattern video tutorials. These take you through all the steps of construction for every one of our patterns, not just the tricky bits, so are great for beginners. Just pick one of the beginner patterns that you like the look of and watch to see the whole construction process. However, we’d recommend giving this blog post a read as well if you really are completely new to dressmaking.
If you sew already then some of this information will be common knowledge to you, but we’ll keep things as beginner friendly as possible and will try not to assume any existing knowledge.
What You’ll Need
To make a dress (or other garment) there’s some essential equipment you’ll need. There are many things out there that are nice to have, and you may want to explore once you become more confident that dressmaking is for you, but the following are the things you actually need to get started. If you sew already, you’ll probably have all of these and be ready to go.
A Sewing Machine. This doesn’t need to be anything fancy, especially for beginner patterns. There are many lower cost options and second hand machines are also readily available. This will be your biggest up-front cost.
Good fabric scissors. Again, these don’t need to be super expensive, but make sure you get good scissors from a reputable brand. You’ll want one larger pair for cutting out fabric, and a smaller pair for small jobs.
A seam ripper. These are designed for removing sewn threads if you make a mistake. Even the most experienced of us do.
Tailor ‘s chalk. For marking your fabric. You can also use special washable pens.
An iron and ironing board for pressing.
A tape measure.
Pins. A good sized box of them.
Optional: Dressmaking tracing paper.
ChoosING A Pattern
Before you make anything, you’ll need to decide what to make.
All dressmaking patterns come with some guidance on how difficult they are to construct. Different companies show this information in different ways, so look for patterns labelled as “beginner” or “easy” or if a star rating is being used, those with a 1-star difficulty rating.
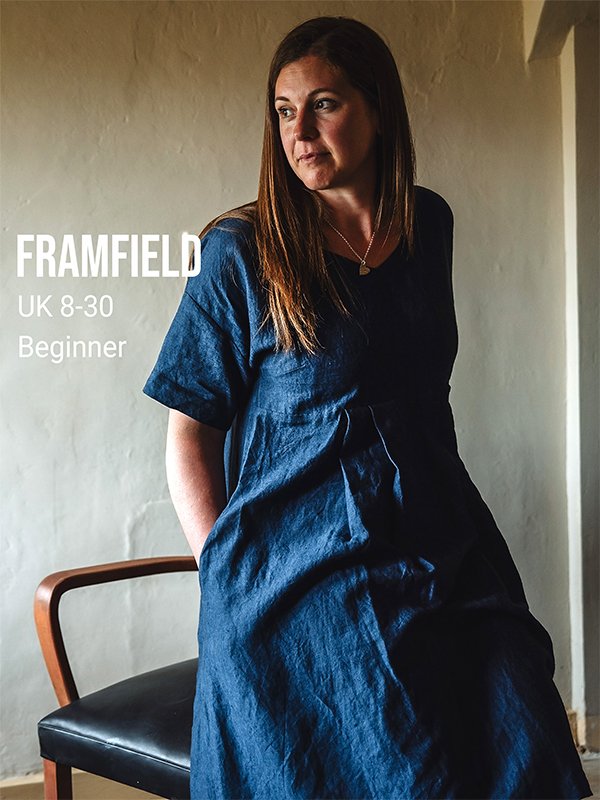
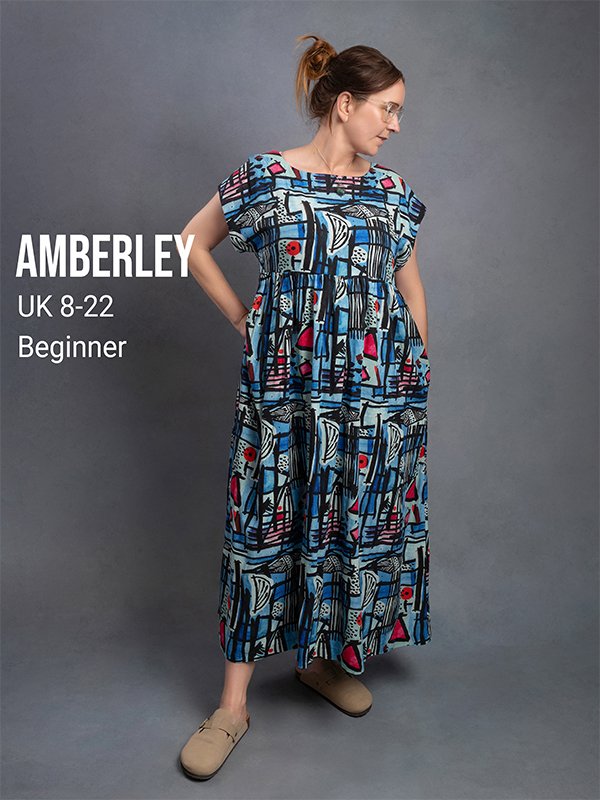
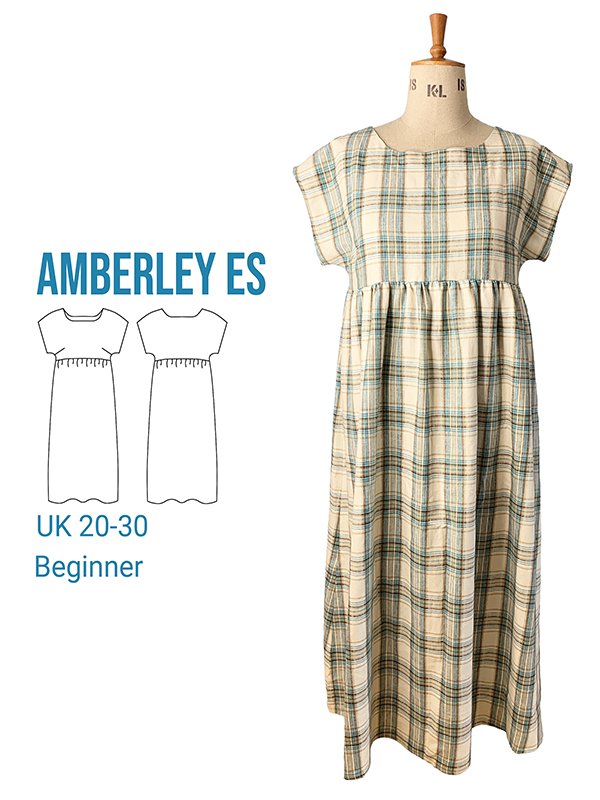
When starting out you’ll ideally want a pattern that is easy to fit to your body. Look for patterns that are loose fitting as these will be easiest to fit, for example, patterns such as the Amberely Dress and Framfield Dress shown below are loose fitting over the body so the only place you really need to make sure they fit is across the bust.
Paper vs Digital PDF Patterns
Patterns are often available as either a traditional paper pattern or a digital download (PDF). Although digital downloads are cheaper, they do require additional equipment (a suitable home printer) and you’ll need to tape lots of pieces of paper together in order to make the complete pattern. For a beginner, we’d advise using paper patterns to start with, as lots of other technical things can go wrong in the PDF printing process and you want to make sure you are starting with a 100% correct pattern.
An example of a small part of a PDF sewing pattern, prior to taping/gluing the sheets together. You can expect a typical pattern to be 25-30 sheets of A4/US Letter, though it varies quite a lot.
You can achieve similar benefits to a PDF, in terms of being able to create new copies if you need them, by tracing your paper pattern onto dressmaking tracing paper rather than using the original pattern. This also means you’ll have a version that only contains cutting lines for the size you are making. It’s not uncommon for people to do this so that the original pattern is preserved.
Many of the patterns that come with popular sewing magazines require tracing as they are often printed either double sided or overlapping, as do those in books of patterns, so be prepared if you go that route.
It is also possible to send PDF patterns to companies that will print them onto large format paper for you (assuming the PDF includes A0/A1 files), so if you really do want to buy digitally, this would be a good option. It won’t necessarily be cheaper than buying the paper pattern, but it does allow you to print it again should you want to cut out a different size for example.
Instructions and Tutorial Videos
Make sure the pattern you are buying also comes with written instructions. Most pattern company will provide instructions, but be wary of cheap downloadable patterns from places like Etsy as these sometimes do not have instructions included.
Check out reviews of the patterns if available, or ask online if others have made the pattern, so you can be aware of any issues others have had and whether the instructions are clear. As a beginner this will be extra important for you.
If you are a visual learner, you might want to consider patterns that provide a tutorial video. All of our patterns come with a video tutorial as standard, but some other companies also provide them for some of their patterns. If there isn’t an official tutorial, sometimes a YouTuber will have uploaded one.
Tutorial videos can be useful for beginners and visual learners.
As a beginner you’ll want to be starting with a pattern that has clear instructions, goes together well, and that you know others have had success with. You’ll then know that any mistakes or issues are likely your own, and not the fault of the pattern itself.
Choosing A Fabric
Almost as important as the simplicity of the pattern is the choice of fabric, so you’ll also want to be looking at the suggested or recommended fabrics for the pattern and choosing a pattern than can be made in a fabric that is easier to work with.
Some fabrics can be slippery or require special needles or machine feet - you’ll want to avoid these at first. Stable (non stretch), woven fabrics such as linen, cotton lawn or poplin and light-to-medium weight denim are easiest to sew and work with and are good choices for beginners.
It can also be helpful to choose a fabric that has a very clear difference between the right side and wrong side (see below), as this can help to minimise mistakes during construction.
Finally, take into account the width of the fabric. Not all fabrics are available in the same widths. Your pattern will tell you which widths of fabric are suitable and how much you’ll need of each type. If you chose a narrower width fabric you’ll usually find you’ll need a greater length of it. Check your pattern for details.
Whichever fabric you chose, it is wise you chose a thread that matches the fabric colour as closely as possible as this will also help to hide any uneven stitching as well as giving a more professional finished look. Gutermann Sew All thread is a great place to start looking.
Right Side / Wrong Side
Most fabrics have a right side and a wrong side (with some exceptions). The right side of the fabric is the one intended to be on the outside of the garment, the wrong side is the one intended to be on the inside.
Although this is a general rule, occasionally the right side of the fabric can be on the inside of the garment is some places, but as a way of remembering which is which, right side = outside is a useful rule of thumb.
Denim is an example of a fabric with a very clear right side and wrong side.
Many instructions you will be following for the pattern will mention the right side or wrong side of the fabric. Commonly you’ll see instructions such as “right sides together” which means the two pieces of fabric being discussed should be placed such that their right sides are facing each other. Use your chalk to mark on the wrong side of all your cut pieces if its difficult to determine which is which.
MakING A Toile (Mock-up, Test Garment)
Before you make your dress (or other garment), you’ll want to make a test version in a cheap fabric. A test make of a garment is called a toile.
Example fabrics you can use for toiles are Calico or any plain weave cotton or cotton poly mix. Old bed sheets can also be useful if you have them and are free!
Making a toile has multiple benefits: you can learn and make mistakes without ruining your final dress fabric, and you can put it on to check that the sizing is correct and assess if you need to make any alterations before making the dress in your final fabric.
When first starting out you should make the entire dress from start to finish in a test fabric. As you gain confidence and experience you can take some shortcuts, but when starting out you need to gain as much confidence as possible with some throw-away test makes.
Choosing The Right Size
You’ll be aware that sizing can vary a lot when buying clothes - you might be a size 20 at one retailer but a size 18 in another. Although sizing numbers like these can be a useful starting point, you should always consult the actual measurements given in the sizing chart of the pattern you are making.
Just like clothes retailers, pattern companies use different measurements for different sizes. Make sure you measure yourself and then consult the sizing charts to determine which size you should make.
An example sizing chart. Always consult the measurements rather than the overall sizing number.
Sometimes this is not straightforward, depending on the shape of your body and how closely the measurements on the chart match your own. We have an entire blog post dedicated to this subject, which you can read here, which also discusses the difference between sizing charts and finished measurement charts and how to use them.
The key lesson is always measure yourself and choose the size that most closely matches your own measurements, don’t worry if that size is labelled as an 18 or a 20, it’s just a number.
Cutting Out
Most dressmaking patterns come with at least one diagram showing how to lay out the pattern pieces on the fabric. Often there are multiple choices that relate to different widths of fabric or different versions of the garment. As a beginner, it’s best to choose the cutting layout that best matches your own requirements and use that.
As example cutting layout, showing how the pattern pieces should be laid out on the (in this case folded) fabric.
As you gain more experience you may find you don’t need the cutting layouts so often, especially for simpler makes, but as a beginner it’s best not to go too off-piste and just use one of the recommended cutting layouts.
Generally you’ll need to place the pattern pieces facing upward on the fabric, but sometimes a more efficient use of fabric or easier cutting layout can be achieved by flipping the pattern piece over (typically when the piece is cut on the fold or cut as a pair - see below). However, only do this if the cutting layout shows it flipped over, as some pieces require that they are cut right-side-up and the pattern will not work correctly if you flip these over.
I’d recommend pinning your pattern pieces with the fabric laid out on a flat surface before cutting out. Although you can also use pattern weights, pins are less likely to move and it also means you are left with the pattern piece attached to the fabric, making it clearer what each piece of fabric is.
Some useful terms to know before cutting out:
Grainline. Each pattern piece will have a grainline, often a single or double ended arrow. When pinning your pattern piece to the fabric, it is important that the arrow on the pattern is aligned with the grain of the fabric. The grain is aligned with the finished edge of your fabric, called the selvedge (or selvage). You can read a short blog post explaining grain and grainlines here. The cutting layout will also show the pattern pieces aligned with the grainline, so check that your pattern piece layout looks the same as the cutting layout.
Cut 2. Some pattern pieces need to be cut out multiple times. This is indicated by a number, e.g. Cut 2 means cut 2 copies of the pattern piece out of the fabric. This means 2 identical pieces, not a pair, though if the pattern piece is symmetrical this is the same thing.
Cut 1 Pair. Some pattern pieces require a matching pair to be cut - think of these like the left and right of a pair of shoes or a pair of gloves - one is the mirror image of the other. The easiest way to cut a pair is to fold the fabric, pin the pattern piece on, and then cut through both layers. This will give you a matching pair. Again, this will be shown on the cutting layout, but it’s useful to understand the principal.
Cut to Fold. A pattern piece that is labelled “Cut to Fold” requires the fabric to be folded and the pattern piece to be placed against the edge of that fold before cutting out in order to create a symmetrical piece of fabric. The pattern piece will show an indication of which edge needs to be placed against the fold of the fabric, typically it will be labelled “To Fold” and will be a straight line. When the pattern piece is cut out like this and then unfolded, it will create one larger, symmetrical piece. You will often see the front/back of skirts or bodices cut on the fold like this.
Notches
Along the edges of your pattern pieces you will notice little lines perpendicular to the cutting lines. These are called notches.
An example of notches on a sewing pattern.
Before removing the pattern pieces from the fabric, ensure you mark the location of all the notches on your fabric. You can do this with chalk or by making a small cut into the seam allowance.
Notches are used to align different pieces of fabric so that they sit together correctly and that any “ease” is in the correct place (see pinning below). They can also indicate additional information such as which part of a sleeve is the front and which is the back (a double notch indicates the back, a single notch the front).
Likewise, if your pattern contains other important markings such as points of darts or button positioning, you’ll need to mark these on your fabric as well.
Applying Interfacing
Some pattern pieces require interfacing to be applied to the fabric. Interfacing is an additional layer of fabric that provides extra strength and staibility. You’ll often see it used for facings, collars, and so on - anything that needs a bit of additional structure, weight or reinforcement.
The most commonly used interfacing is fusible interfacing, which means it has one side coated in a fabric glue, enabling it to be ironed on to the fabric. Interfacing comes in different weights, with lighter fabrics usually requiring lighter interfacing.
Some fusible interfacing. You can just about see the slight shine, which indicates the side with the glue on it. You can feel the difference between the two sides as well.
The process of applying interfacing isn’t too difficult but it can be a little tricky for beginners to get neat results. To make it easier I’d recommend block-cutting - see our blog post here for an explanation.
Seam Allowance
One of the most important things you need to know for any pattern is what the seam allowance is. When sewing a seam (i.e. joining two pieces of fabric together), the seam allowance refers to how far from the edge of the fabric you will be stitching. So a pattern with a seam allowance of 1.5cm (3/4 inch), will require you to stitch 1.5cm from the edges of the fabric when stitching a seam.
Here I am sewing one of my own patterns, with a 1cm seam allowance, this means I’m stitching 1cm from the raw edge when sewing the seam.
Since different patterns (or pattern companies) use different seam allowances, it’s important to understand what the seam allowance is. If you use the incorrect allowance your garment may not go together properly or will be the incorrect size.
As a beginner, you’ll want to make sure the pattern you are using has a seam allowance included in the pattern. Almost any modern pattern will have an included seam allowance, but some patterns do not and require you to add it to the pattern yourself. It’s best to avoid these as a beginner.
Pinning
When pinning fabric pieces together prior to stitching, ensure that any notches on the pattern pieces are matched with the corresponding notch or seam of the adjoining piece (we always show you exactly which notches should match within our tutorial videos, but your pattern instructions should state when notches should be matched).
Something that can be confusing for new dressmakers is that two fabric edges that are to be stitched together are not always the same length or shape. This is because the finished dress is not a two dimensional shape, but a three dimensional one. The different lengths of the fabric edges, when stitched together with the notches matched correctly, will produce a three dimensional shape designed to fit the body.
So notches are extremely important, and you should ensure they are matched correctly when pinning, prior to stitching the seam.
Machine Sewing
Before stitching, ensure you have the correct type of needle for the fabric you are using. For the easier to sew fabrics mentioned earlier, a universal needle should be fine. (for an explanation of needle types, and corresponding fabrics, see our blog post here.).
Also ensure you have the correct stitch type selected. For plain seams on stable woven fabrics using a straight stitch with a stitch length of 3 will mean it will hold firmly but be slightly easier to unpick if necessary than it would be with a smaller length stitch. As a general rule of thumb, the thicker the fabric the longer the stitch length.
Most beginner patterns will just require plain seams, but for more information about different seam types, including plain seams, see our blog post here.
When stitching seams, using the stated seam allowance, you can ensure you are stitching the correct distance from the fabric edge by using the metal plate on your sewing machine. The plate will have marking lines on it that show how far the line is from the needle (depending on your machine, these may be metric or imperial units). So if your pattern has a seam allowance of 1cm, then aligning the edge of the fabric with the 1cm line on the sewing machine plate will ensure you are stitching 1cm from the fabric edge. Placing a washi tape guide line on your stitch plate can make this simpler.
An example of a sewing machine plate, in this case indicating both metric (top) and imperial (bottom) measurements. On my machine the distance of the foot edge from the needle is almost exactly 1cm, which is another useful guide.
Most fabrics require seams to be “finished”. This means stitching along the raw edge (i.e. the unstitched edge) of the seam allowance in order to prevent the fabric from fraying when washing and wearing. On a basic sewing machine this is usually done by sewing a zig-zag stitch along the edge of the seam allowance, more advanced machines have additional special stitches for finishing seams. (If dressmaking becomes a serious hobby for you, you may wish to invest in an overlocker aka a serger for this task - a discussion of which can be found here).
In cases where seams are intended to be pressed open, it is often possible to “finish” the seam allowance before the seam itself is stitched. So the edge of each fabric piece is stitched with a zigzag stitch before the seam itself is stitched. This is often easier than trying to finish the seam after it has been stitched. (You’ll see me do this frequently in our tutorial videos).
Importance of Pressing
Another thing you’ll see me do frequently in all of our pattern tutorials, is press. You should press every seam after finishing it, and your pattern instructions should state when pressing is required. Pressing will ensure your garment has a professional look, but will also make sure the seams sit as they should, so any further work on the garment will be taking place with the garment sitting correctly. Failing to press after stitching can result in inaccurate and messy construction such that the garment is not going together accurately resulting in ruckling, misaligned seams, and so on.
Pressing is extremely important and can separate a garment that “looks” home made from one that looks professionally made.
Pattern Alterations
If you’ve completed your toile and discover it doesn’t fit correctly, it’s time to review the pattern, measurements and so on. It may be that the overall garment is just a size too large or too small and you just need to make it again in a different size, but other times you may find it is not the length that you’d like, and so on.
If simply changing the size you are making doesn’t address the fit to your liking, then there are many things you can do to adjust the pattern, which are beyond the scope of this introductory article, but changes like altering the length of a skirt/dress are relatively straightforward (see this blog post for an example). If you have a full bust, then you may benefit from a full bust adjustment on some patterns (see here).
MakING It For Real
Once you’ve made a toile that fits you it’s time to make the dress in your final fabric.
Before doing that it’s important to pre-wash your fabric. Many fabrics can shrink when they are first washed. For some fabrics this might be hardly noticeable or make little difference, but that’s not true of all fabrics. So pre-washing ensures that any shrinking of the fabric happens before you make a garment out of it. Use the washing temperature and cycle you intend to be washing your completed garment at to pre-wash.
If you don’t pre-wash your fabric you run the risk of your dress shrinking in the wash and no longer fitting you as nicely, so it’s really worth the effort.
Our Beginner Patterns
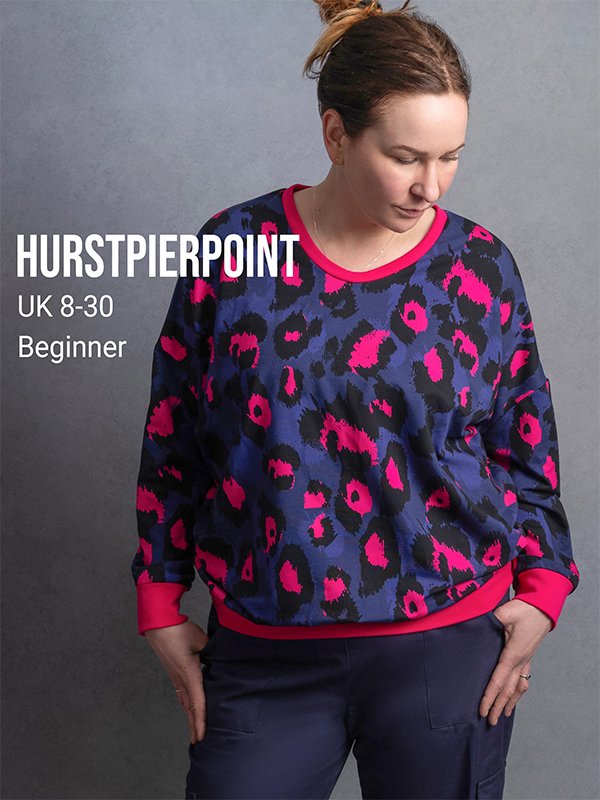
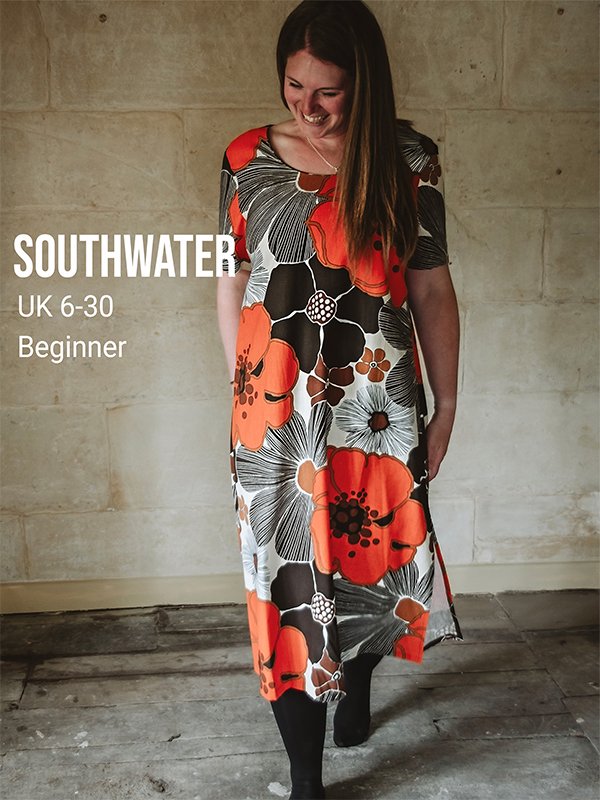
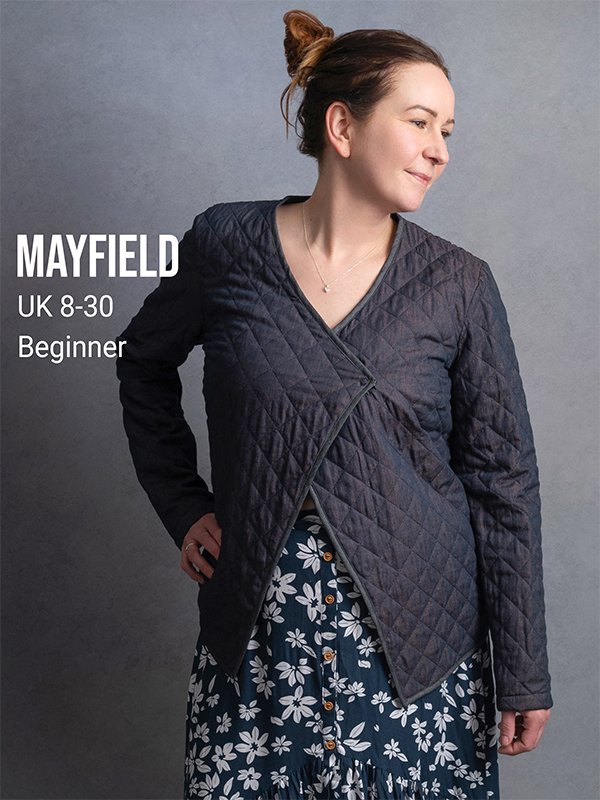
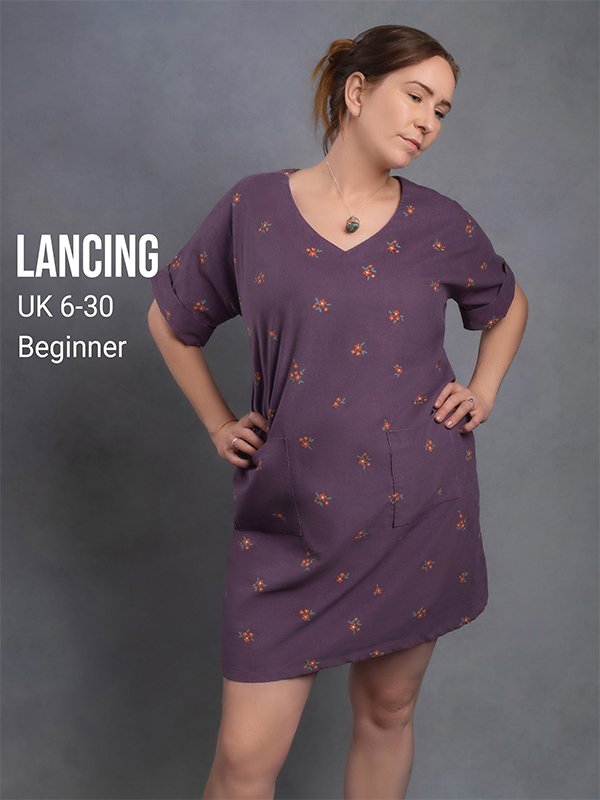
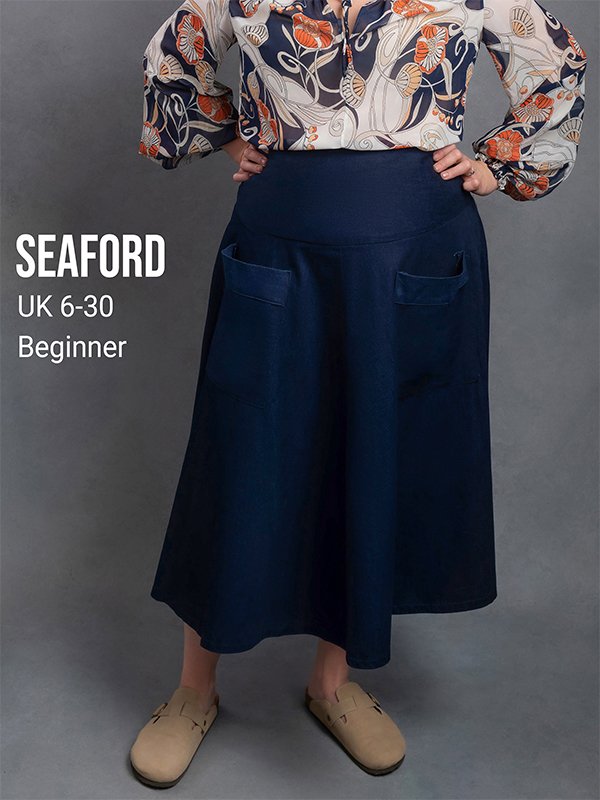
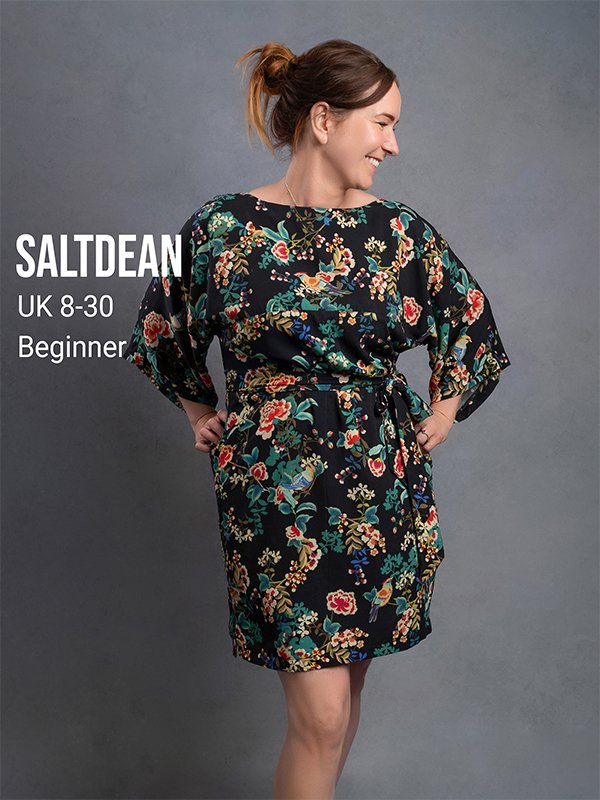
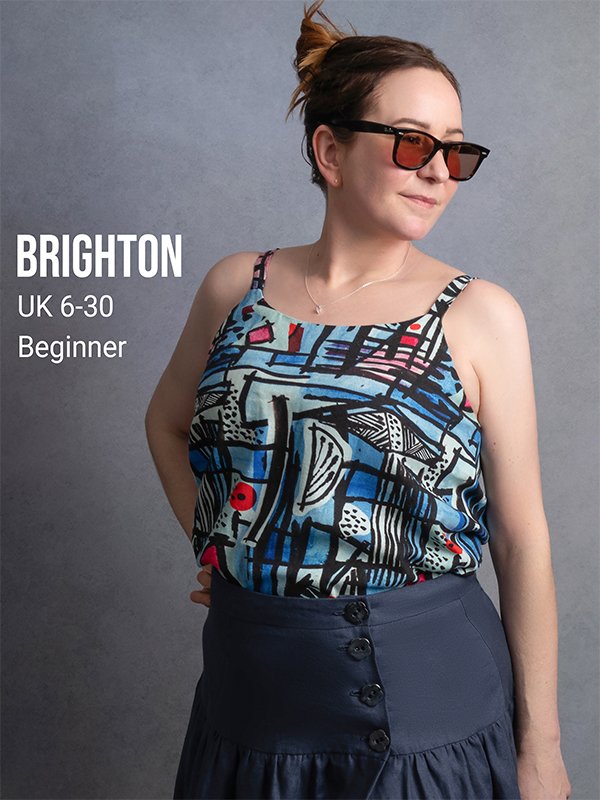
We hope this very brief overview of dressmaking has been useful, and should you decide to give dressmaking a go, why not take a look at our own range of beginner patterns and maybe watch some of the tutorial videos so you can see what’s involved. If you do choose to make one of our patterns, do let us know how you got on - we love seeing your makes :)
