How To Fully Line the Nutley Jacket
The Nutley Jacket is highly versatile has oodles of Parisian chic. It’s currently on trend to be worn with jeans and a plain T-shirt, or with a matching short skirt or trousers for a more formal look.
I didn’t fully line the original version of this pattern as I didn’t want to deter less experienced sewers. However, for those who would prefer a fully lined jacket, and are further along in their sewing journey, I’ve put together this step by step blog post outlining how I chose to create a fully lined version.

A fully lined version of the Nutley Jacket. I think it looks rather chic!
How to Use This Guide
This guide is intended to be used alongside the more detailed written instructions that come with your jacket, as well as the video tutorial for the semi-lined version which you can access below.
As such, I won’t be going in to detail on steps that are already covered in the instructions, so for example I may just write “construct the sleeves” because you already have instructions (and the video below) to show how this is done.
This blog post will outline the construction order and additional steps to create a fully lined version of the jacket.
Creating a Fully Lined Nutley Jacket

First cut out all the pieces you need for your outer layer. I’m using a mid weight cotton twill for this demonstration.

Add strips of interfacing to the front of your front yokes and centre front panels as above.

Mark in your suggested pocket placement line (if you plan to apply pockets)

Next lay out and cut your lining. Note the ‘lining’ line on your front yoke and centre front panels. Fold back your pattern piece to this line before cutting.

I also decided to cut lining for my pockets. I used the same pattern piece as I did for the outer fabric. All other pattern pieces I cut ‘as is’.

Place your pocket flap fabric and lining right sides together. Pin and stitch. Clip and trim.

Construct lining as above pressing seams open.

Stitch the pocket flaps to the front yoke, right sides together, matching the notch on the yoke to centre of the flap.

Construct the outer sleeves.

Construct the sleeve linings in the same way.

Stitch the side seams on the lining and insert the sleeves.

Stitch the jacket front to the front yokes.

Stay stitch the neckline on the outer jacket to avoid stretch.

Insert the sleeves into the outer jacket.

Next I lined the pockets. I cut the lining the same as the outer fabric for ease.

Place the pocket and lining right sides together. Stitch along the top.

Fold the outer pocket over as above using the fold line notches to determine the amount. You will notice the lining is now showing below the outer pocket.

Stitch around the outer pocket, leaving a small gap at the bottom, and trim away the lining fabric to match.

Turn the pockets through and press.

Line up the pockets on the fronts of the jacket using the line on the pattern as a guide.

Pin and stitch the pockets. Press.

Pin the centre fronts of the lining to the centre fronts of the jacket, matching the yoke seams. Stitch from the neckline down towards the hem using a 1cm seam allowance. Stop a few cm from the hem.

Match the shoulder seams on the lining and outer jacket at the neckline. Pin. The centre fronts of the front yokes will naturally fold back to form the button/buttonhole stand. Continue pinning the neckline. Stitch.

Clip into the curve and trim corners as above.

Carefully understitch through the lining and seam allowance close to the edge of neckline. Press.

Next I trimmed away 2cm of lining from the hem so that when stitched together the lining would pull the hem up under and not show on the right side.

Then I folded back my jacket front to the notch on the hem indicating the fold line. I stitched straight across the bottom to meet the 1cm seam allowance at the hem of the lining.

Then I pinned and stitched the hem of my jacket and lining hem together, leaving an opening for turning through.

Turn through and press.

Hand stitch the opening in the hem closed.

I stitched up my vents on the lining and outer as I’m not intending these to be functional. Note the cut indicating the hem depth.

I stitched up the cuff hem by stitching my seam allowances together. Remember that little cut, that is in the fold line.

I held the vent closed by stay stitching.

Then i turned up the sleeve 2.5cm as that meant they were the perfect length for me.

Next I folded the lining up into the sleeve so it sat 1cm above the cuff hem.

I then hand stitched the lining to the main sleeve.
Finally it just needed a good press and that was it!
There are lots of ways to do this but this was the way I chose and provides a guide if you’d like to do the same.
As a final point: I think I would use a more slippy lining if I were to make a thicker more wooly version to help get it on and off. The cotton worked well for this more casual version though.

Sussex Seamstress is an independent pattern studio, based in Sussex, UK.
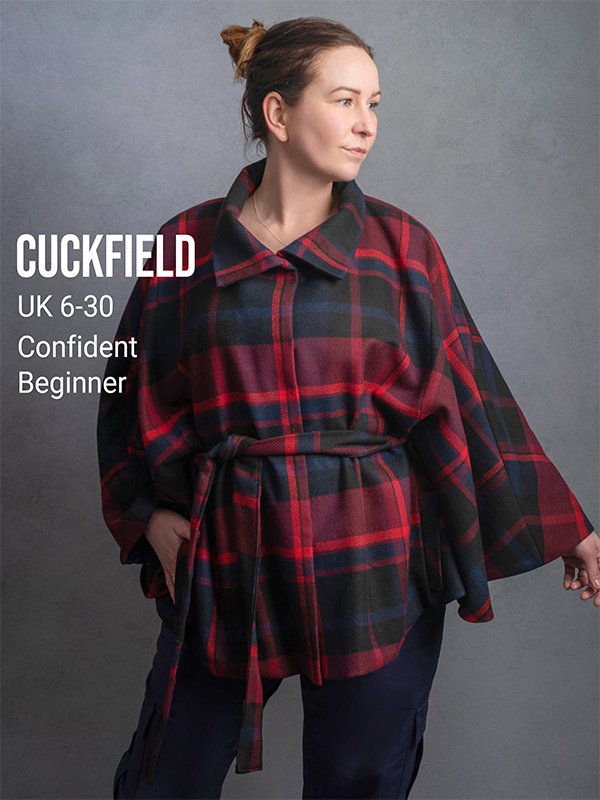
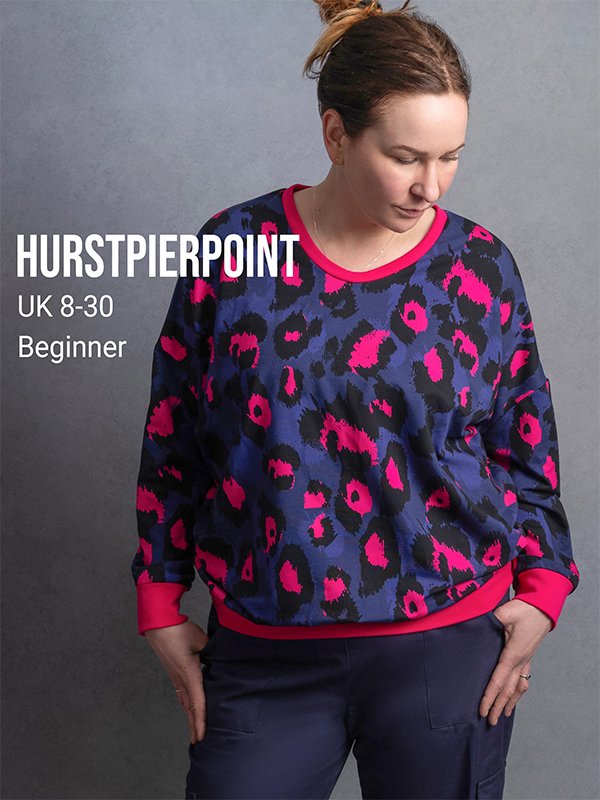
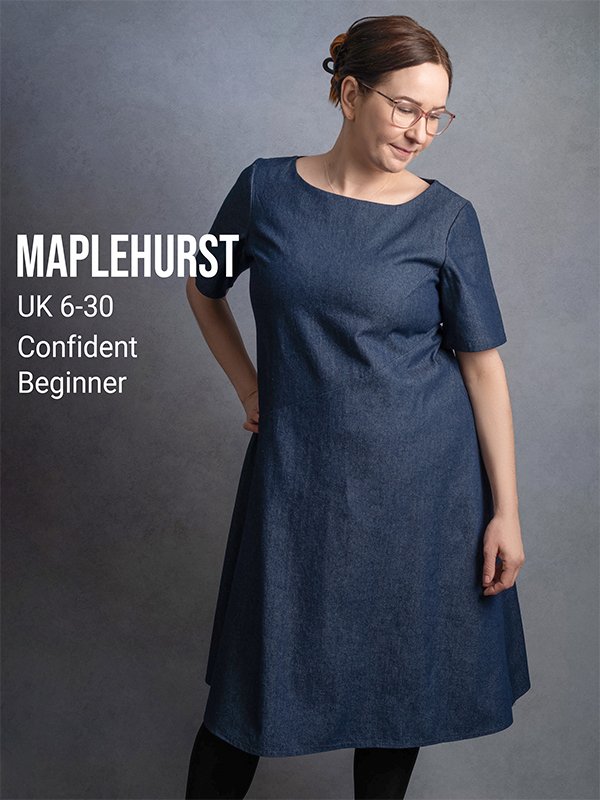
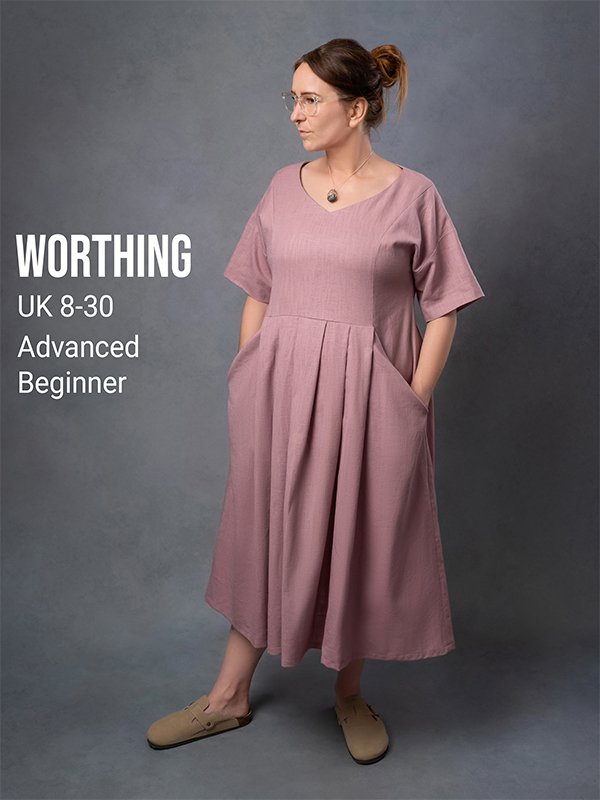
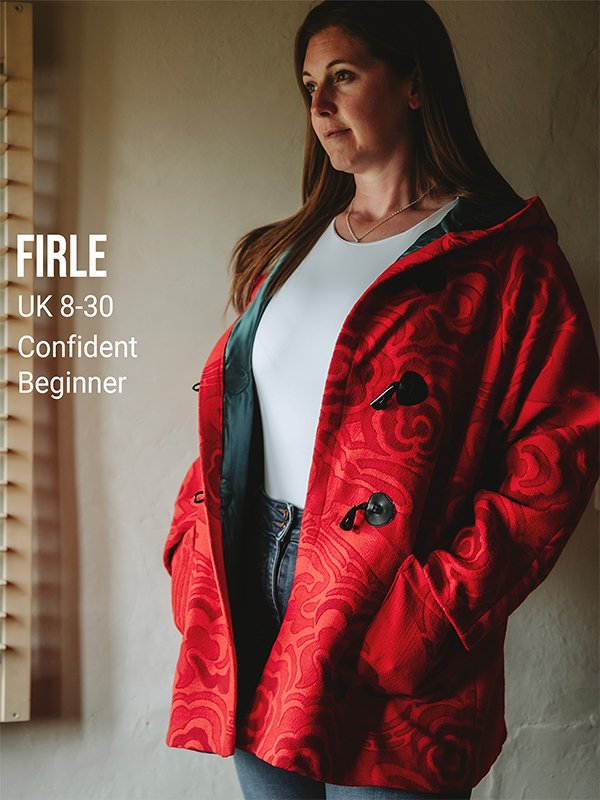
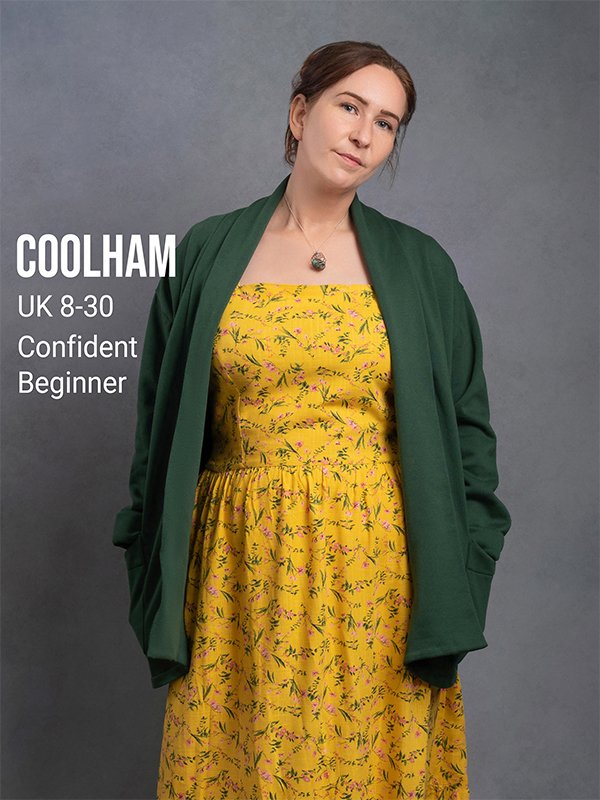
Check out our range of dressmaking patterns in sizes 6-30. A Selection of our recent patterns is shown below. Thank you!