How To Make The Rye Jacket In Boiled Wool
After seeing the Rye Jacket made up in boiled wool by Rebecca Harrison on Sewing Street last week I had to have a go! It just so happens that I had ordered a couple of bolts of it with a view to making up some kits so I got started straight away.
The result was so lovely I thought I would write a quick blog about how I did it as the boiled wool allows you to be a bit lazy! It was such a lovely easy and quick make. Working in boiled wool is basically working in felt so you don’t get fraying . No overlocking of edges or seam neatening required.
Bellow are a series of photo’s of the changes I made when constructing mine. I’ve written a short explanation next to each one. Hopefully this will inspire you to have a go too.
If you want to get some boiled wool for the pattern, you can find some in our kits section while stocks last.
Enjoy!
Jayne x
The original Rye Jacket tutorial video is included below (which you can still follow along to), but scroll past for the tips on what to do differently when making the jacket specifically in boiled wool.


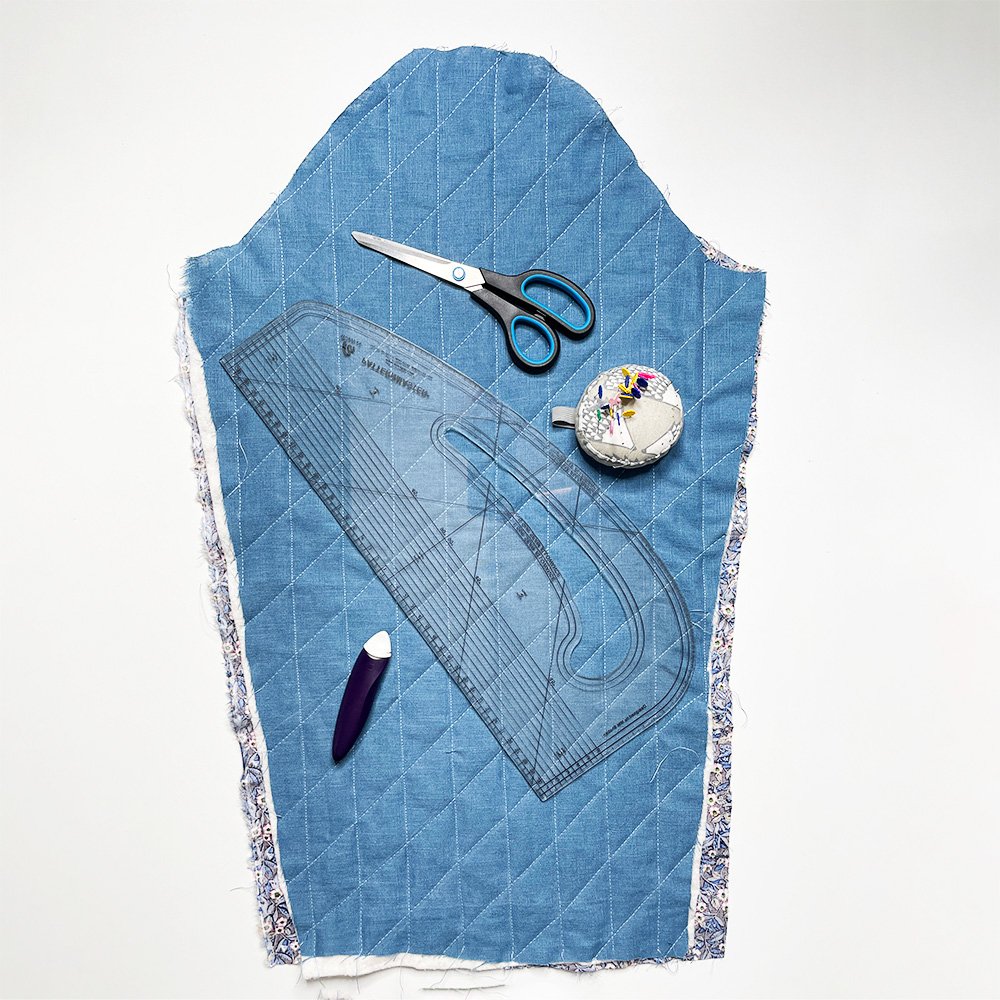
Here you can see I have cut away most of the seam allowance around the pockets and simply stitched them in place. I did the same to the top hem of the pocket too as it was too bulky to turn and turn to hem and completely unnecessary anyway.
Collar

I cut the seam allowance right down around the collar too. It made a much crisper edge laying the wrong side of the collar together and simply stitching around the outer edge. I also used a knitted interfacing on the wool to keep that softness and allow it to retain the movement of the wool.
Centre Front

I kept the collar attachment the same but decided the to do the cut away along the centre fronts, again to reduce the bulk. After attaching the facing around the neck I pinned the front facing to the front edge of the jacket and stitched on the right side 1cm in from the edge. Then I trimmed the seam allowance right down again. So neat and crisp!
Hem

The main body seams I kept the same, just no overlocking. The hem I just turned up and stitched, then trimmed that extra seam allowance away again.
Cuffs
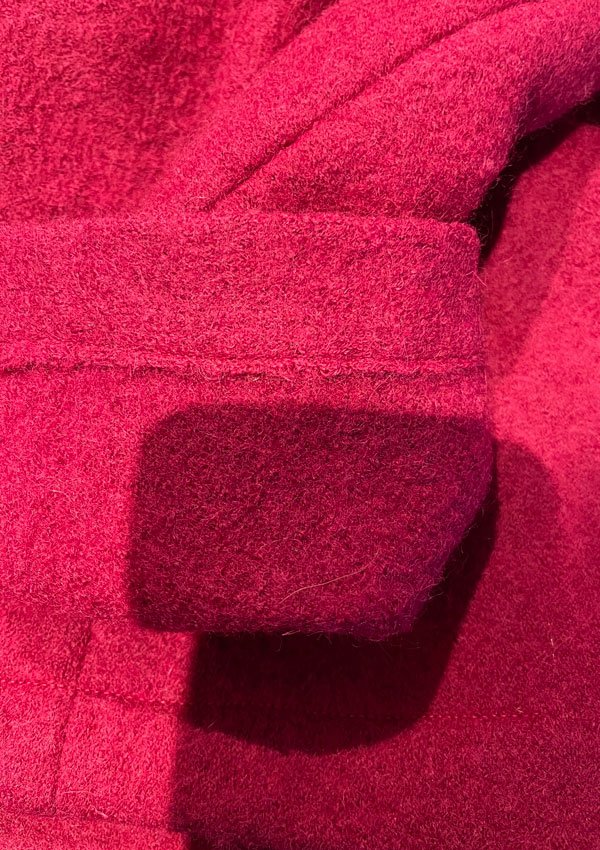
I did the same for the cuffs.
This was such a quick and easy make I hope I’ve inspired you to have a go. The result is a versatile and cosy jacket. So easy to wear with jeans and boots for a dog walk or a with a smarter dress for work or those lunches out with friends.
Remember, I would love to see your makes on social media. So be sure to post them and tag me #sussex_seamstress.
Enjoy!
Jayne x

Sussex Seamstress is an independent pattern maker, based in Sussex, UK.
While you’re here, why not take a look at my range of sewing patterns for women?