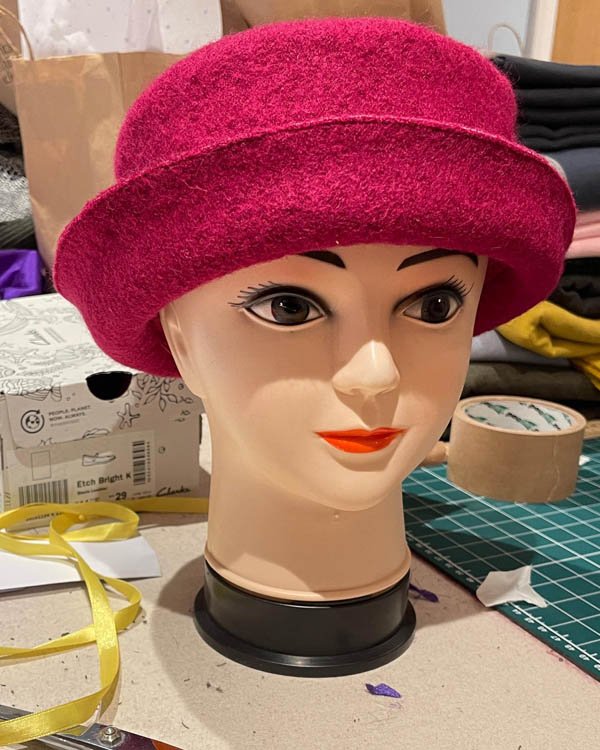
How To Make The Blatchington Hat - With FREE PDF Pattern!
Free PDF Hat Pattern
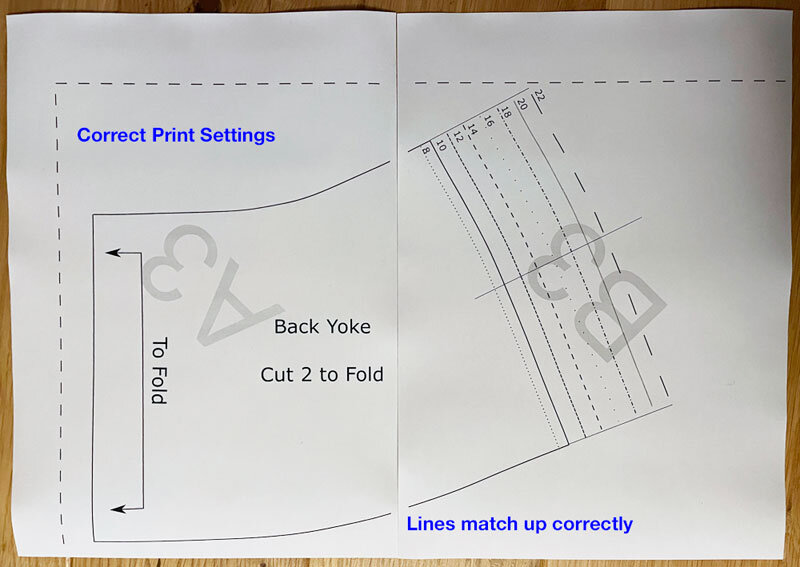
Before you get started you’ll need to download the Free PDF Pattern that accompanies this blog post. To download the pattern for free, head over to our pattern store via this link, add the hat pattern to your cart and check out. You won’t be charged for this pattern.
NOTE: We can only offer this pattern for free on sussexseamstress.com, on other platforms (such as our Etsy store) there is a small charge due to the costs associated with listing & selling on those platforms.
Once you’ve made your hat be sure to post a photo on social media and tag me in it (#sussex_seamstress) so I get to see all your lovely makes!
Fabric SUGGESTIONS and Requirements
To make the hat, you will need:
60cm of 1.15m wide fabric or 40 cm of 1.4m wide fabric
0.5m of 1m wide fusible interfacing
40cm lining fabric 1.15m wide
Thread
Suggested Fabrics
Pretty much any mid to heavy weight woven fabric will do the job. I have made one in Denim, corduroy, boiled wool and quilting weight cotton. All worked out really well.
Sizing
S: 21”; M: 22”; L:23”

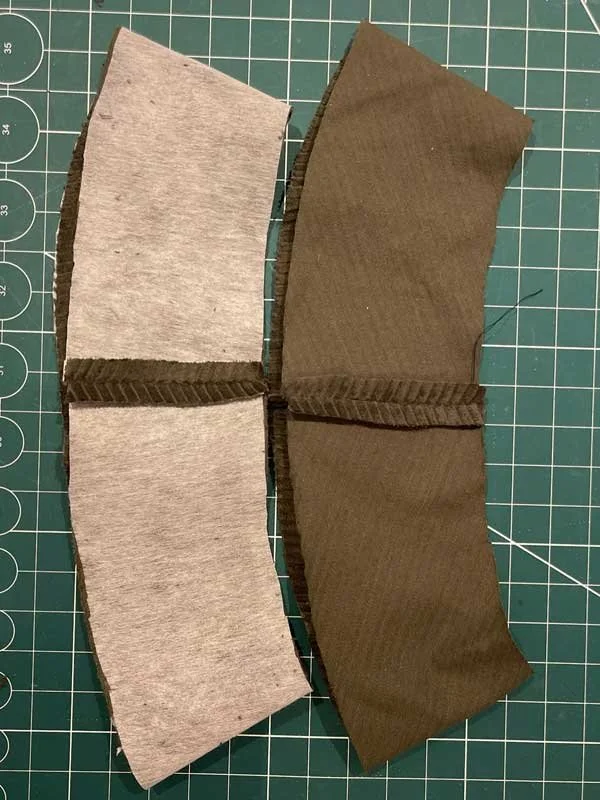
Firstly iron interfacing to the wrong side of the crown fabric. Then pin and stitch the short edges together using 1cm as the seam allowance. Press the seam open.

Next, iron interfacing to the top section. I’ve got a seam in the top of my hat as I was scrap busting! I also used scraps of interfacing. This interfacing is non woven so you don’t have to cut to grain as there isn’t one! This is a great scrap busting project.
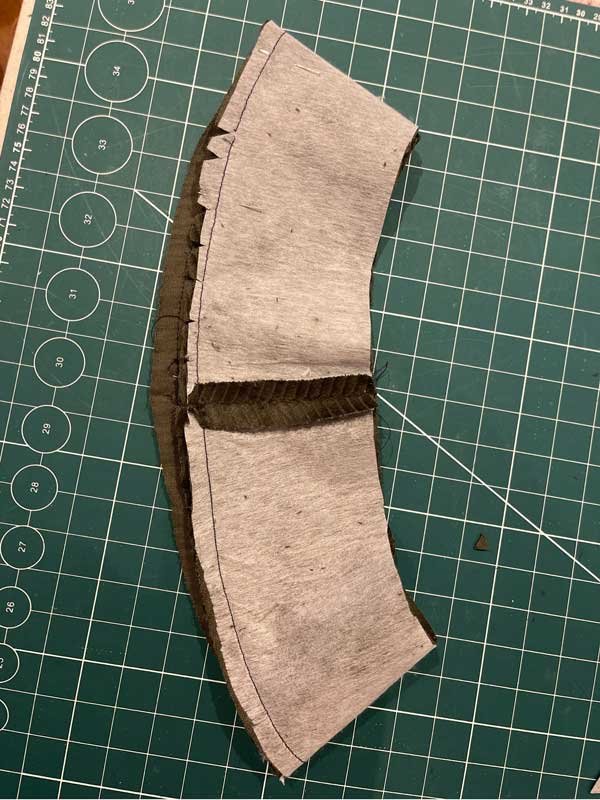
Pin hat top to hat crown matching notches.

Stitch 1cm away from edge. (view from underneath)

(View from top)
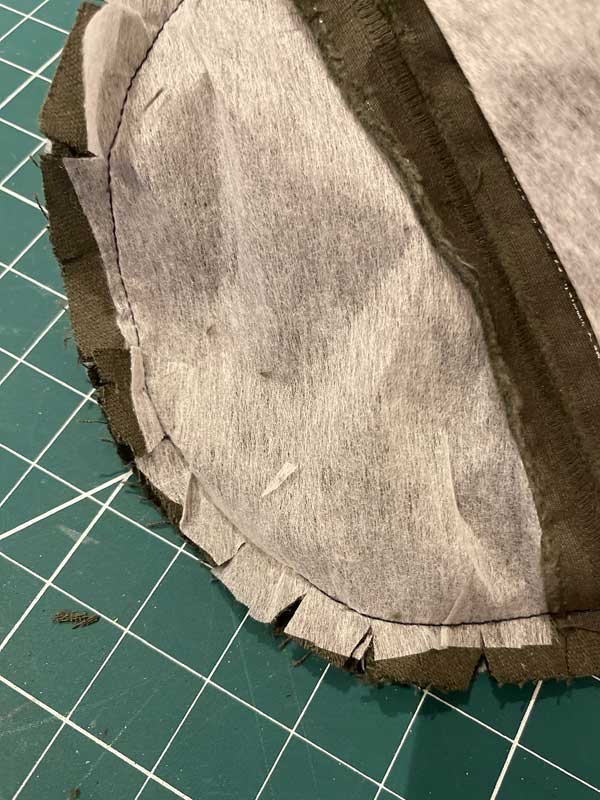
Clip into seam allowance to the stitch line and cut little triangles of fabric out as shown above.
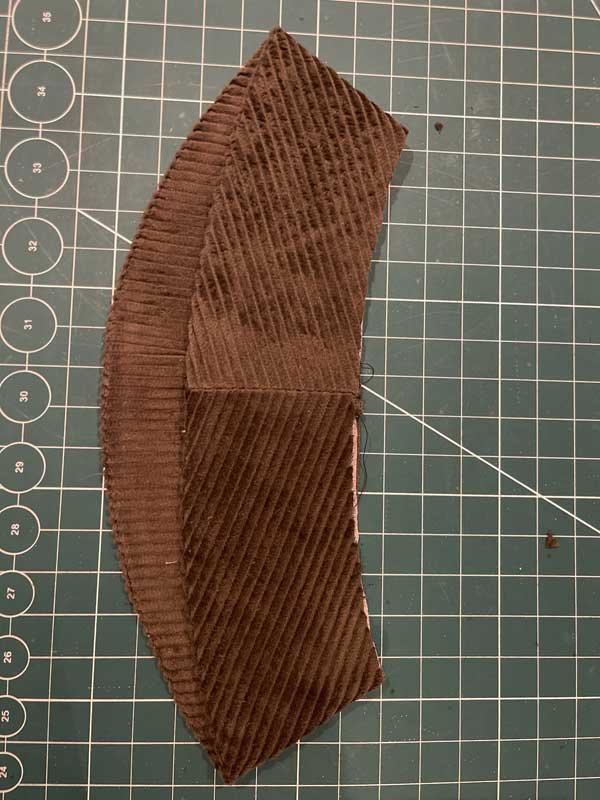
Next, press interfacing to the wrong side of one hat brim. Stitch short edges together and press the seam open. All seam allowances are 1cm.
Pop one brim inside the other, right sides together. Pin widest edges together and stitch.

Clip and grade the interfaced brim all around as shown above.
Turn brim so right sides are now outside. I under stitched my seam allowance to my interfaced brim. You may wish to as well. If you intend to top stitch your brim it’s not necessary to under stitch too. Press.
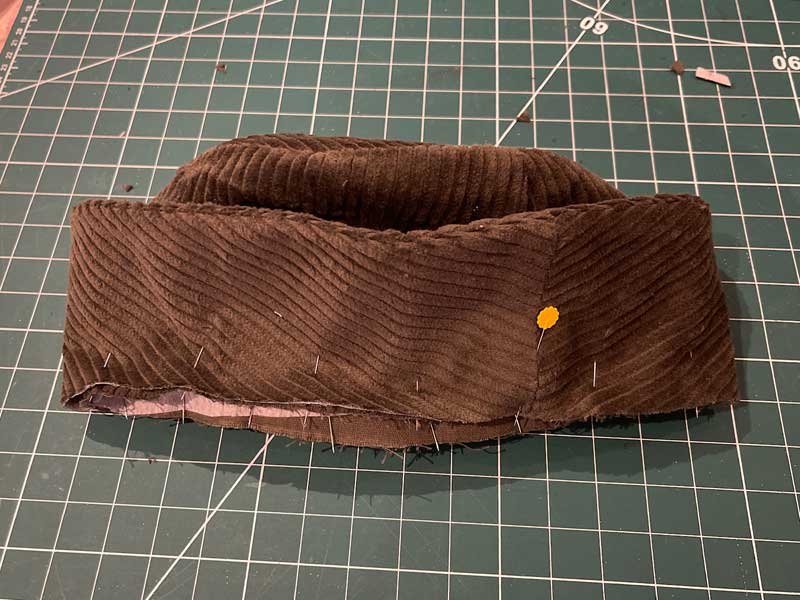
Pin brim to hat crown matching seam as shown above. My interfaced brim section in this picture is under the soft plain one which is shown upper most. This is a side view.

View from inside the hat.


Stitch and trim down (grade) top seam seam allowance.

Press seam allowances upwards. Your hat should now look like this.

Pin and Stitch crown lining along the short edge. Press the seam open.

Pin crown lining to hat top lining right sides together, as you did with the outer hat, making sure to match the notches.

Clip seam allowance to stich line, turn and press.

Stitch 1cm up from edge of the hat lining. Turn hat inside out and place lining right side out over the top matching the seam.

Tuck in the 1cm seam allowance and pin along stitch line joining brim and crown.

Slip stitch by hand. I used the stitch line on the lining to do this. (It is possible to partly machine stitch the lining in. I love a cuppa and a bit of hand sew though)
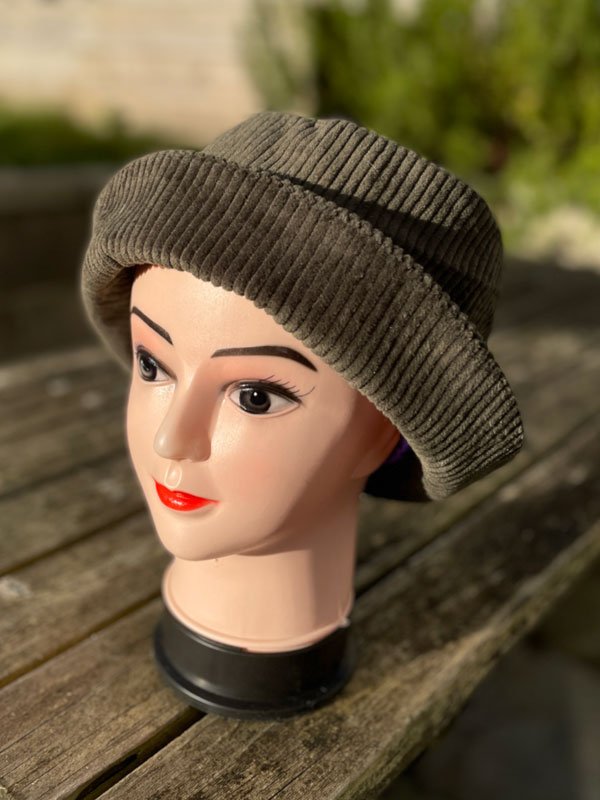
Give your hat a final press and Enjoy!
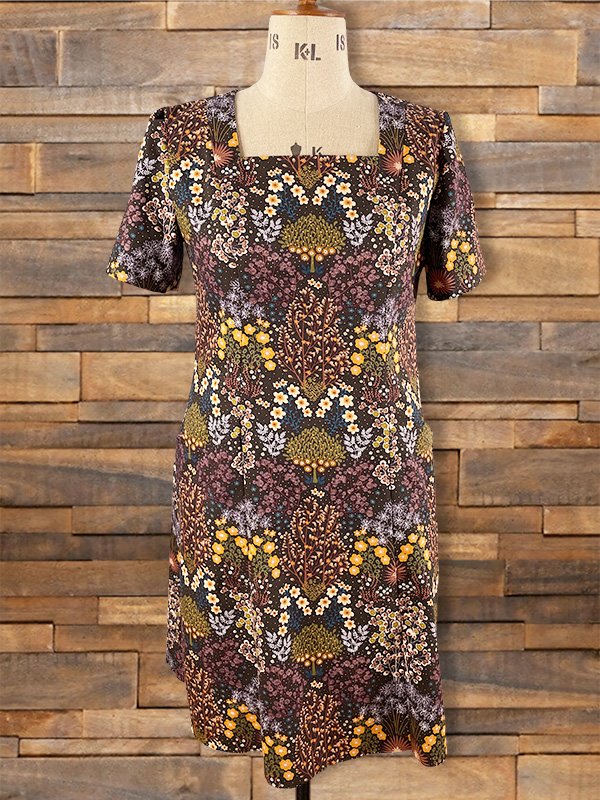
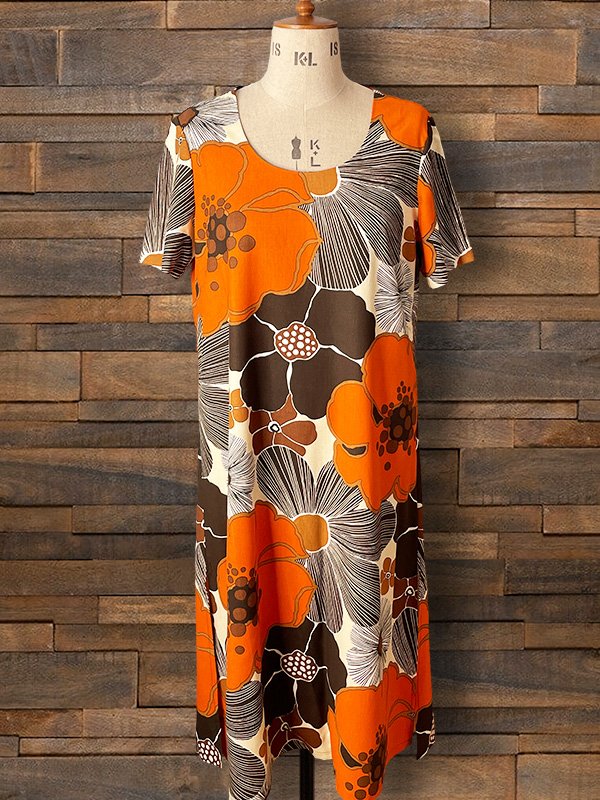
While you’re here, why not take a look at our sewing pattern range, available in sizes 8-30, with both paper patterns and pdf downloads are available. Here’s a few examples of our latest dress patterns, each comes with its own YouTube tutorial.


Sussex Seamstress is an independent pattern maker, based in Sussex, UK.
While you’re here, why not take a look at my range of sewing patterns for women?